10 Jan 2025
Post by Aurorina
Introduction
Booting your Nextbook 9-inch tablet from a USB drive can be tremendously beneficial for various reasons, such as troubleshooting, running a different operating system, or simply upgrading your device. Our guide breaks down the process into manageable steps, ensuring you can complete this process smoothly and efficiently. Whether you are tech-savvy or a novice, booting from USB on your Nextbook doesn’t need to be daunting if you follow our comprehensive instructions.
Understanding Booting from USB
What Does ‘Boot from USB’ Mean?
Booting from a USB drive involves starting your tablet’s operating system using the software installed on a USB flash drive rather than the tablet’s internal storage. This process is valuable for several tasks, including installing a new OS, running recovery tools, or troubleshooting software issues without accessing the built-in storage.
Benefits of Booting from USB
Choosing to boot from a USB drive can offer multiple benefits:
– Flexibility: Use different operating systems without altering your tablet’s current setup.
– Troubleshooting: Resolve issues related to your tablet’s internal storage without relying on it.
– Recovery: Run diagnostic tools and recovery programs effectively.
– Portability: Carry your operating system or tools anywhere.
Compatibility with Nextbook 9-Inch Tablet
The Nextbook 9-inch tablet features hardware that generally supports USB booting, but verifying compatibility is essential. Ensure your tablet’s BIOS/UEFI settings allow booting from USB, and your USB drive is prepared correctly.
Preparation Steps
Tools and Software Needed
Before you begin, gather these tools:
1. A functional USB drive (minimum 8GB recommended).
2. A computer to create a bootable USB drive.
3. USB creation software (like Rufus or UNetbootin).
Creating a Bootable USB Drive
- Download the ISO file for the operating system or tool you wish to boot.
- Use software like Rufus:
- Insert the USB drive into your computer.
- Launch Rufus.
- Select the downloaded ISO file.
- Click ‘Start’ and wait for the process to complete.
Backing Up Your Data
Before proceeding, back up vital data from your Nextbook’s internal storage:
– Transfer files to an external storage device or cloud service.
– Ensure you have backup copies to prevent data loss during the boot process.
Accessing and Configuring BIOS/UEFI
Entering Nextbook BIOS/UEFI
Accessing the BIOS/UEFI is crucial:
1. Power off your tablet.
2. Press and hold the Volume Up and Power buttons simultaneously.
3. Release when the device logo appears or follow on-screen instructions to enter BIOS/UEFI.
Changing Boot Order Settings
In BIOS/UEFI:
1. Use the arrow keys to navigate to the Boot tab.
2. Locate the boot order settings.
3. Set the USB drive as the primary boot device:
– Highlight the USB drive.
– Use function keys (often F5/F6) to move it to the top position.
Enabling USB Booting
Check if USB booting is enabled:
1. In BIOS/UEFI, navigate to Advanced or Security settings.
2. Ensure USB Boot is enabled.
3. Save changes and exit BIOS/UEFI (usually F10).
Booting Your Nextbook 9-Inch Tablet from USB
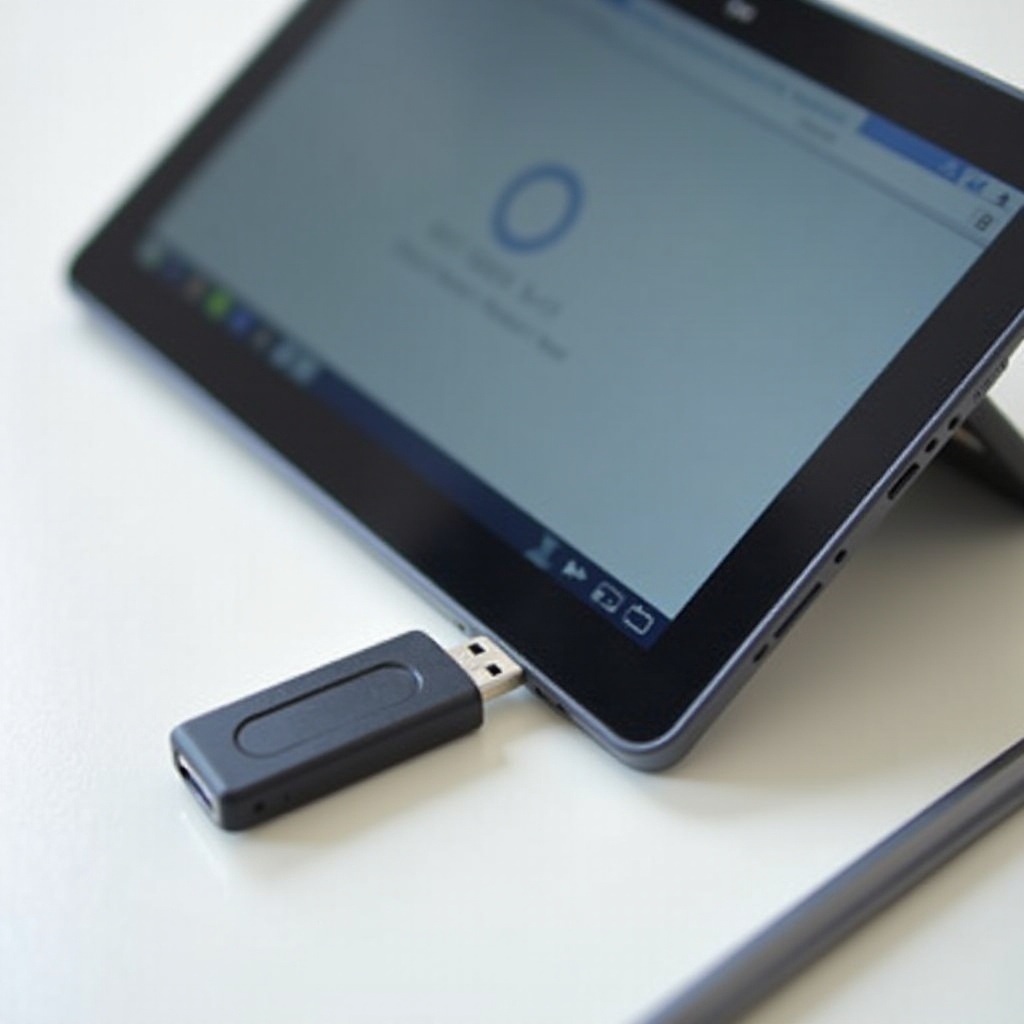
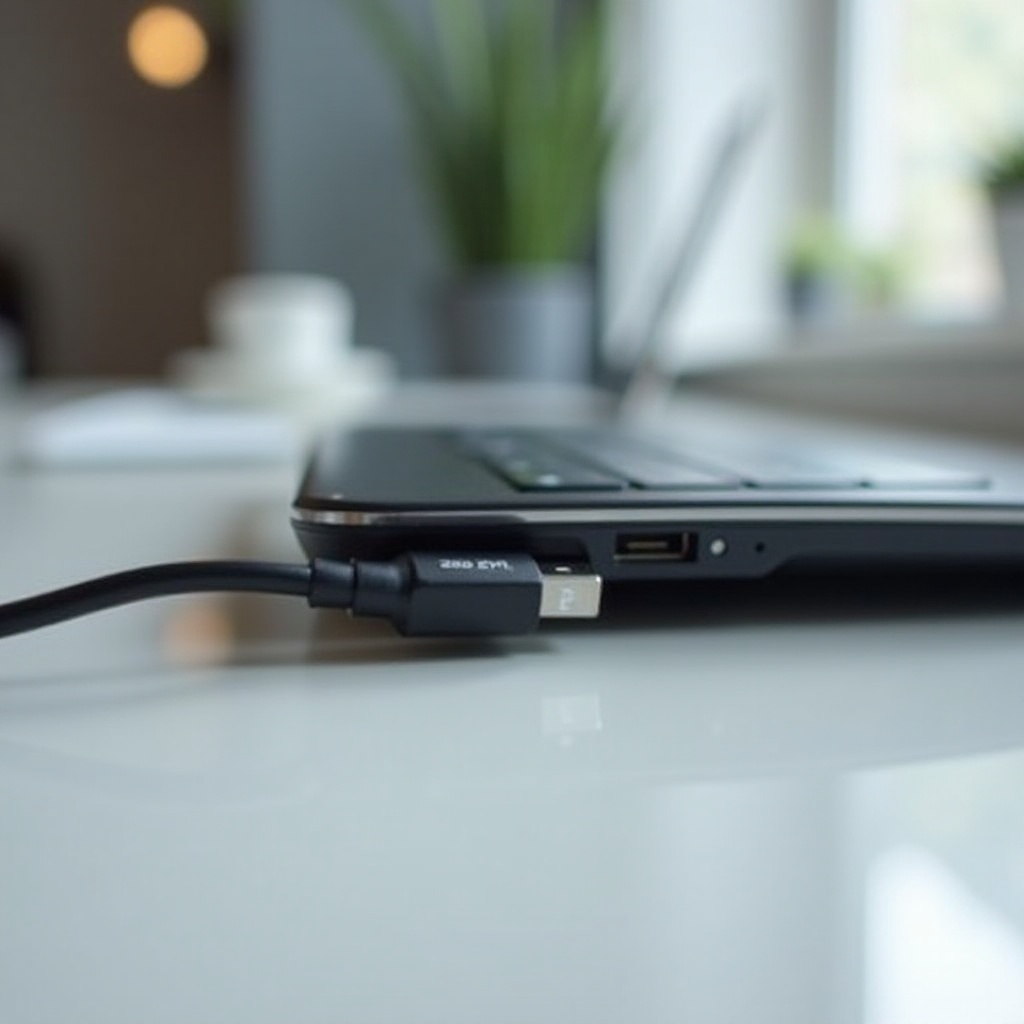
Connecting the USB Drive
Ensure the bootable USB drive is ready and connect it to your Nextbook:
– Use your tablet’s USB port, an adapter might be necessary for a micro-USB port.
Selecting USB Drive as Boot Device
When your Nextbook powers up:
1. Power on the tablet.
2. The device should automatically detect the USB and start booting from it.
3. If not, re-enter BIOS/UEFI and manually select the USB drive as the boot device for this session.
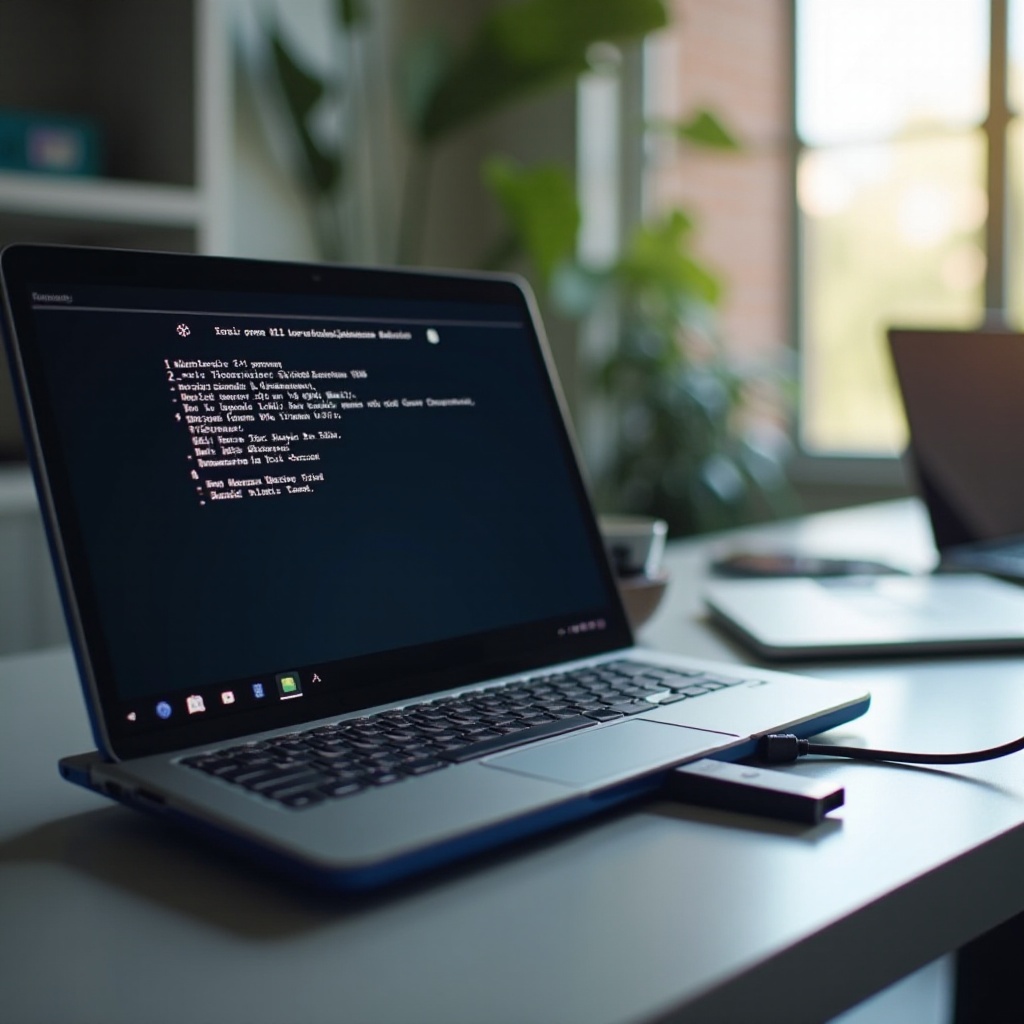
Initial Boot Process
Upon successfully booting:
1. Follow on-screen instructions for the operating system or tools on your USB drive.
2. Complete any setup prompts to begin using the new environment.
3. Understand that the initial boot may take longer as it configures hardware settings.
Troubleshooting Common Issues
USB Drive Not Recognized
If the USB drive isn’t detected:
1. Check the USB drive for proper formatting.
2. Ensure the bootable USB was created accurately.
3. Try using a different USB port or adapter.
Stuck at Boot Screen
Should the device freeze on the boot screen:
1. Re-enter BIOS/UEFI and confirm settings.
2. Test the USB drive on another computer to ensure it’s functional.
3. Verify that your ISO file is appropriate for your Nextbook hardware.
Resetting BIOS/UEFI Settings
For persistent issues:
1. Enter BIOS/UEFI.
2. Locate the Reset to Default or Load Default Settings option.
3. Save changes and exit, then repeat the steps to configure USB boot.
Conclusion
Booting your Nextbook 9-inch tablet from a USB drive can expand its capabilities, allowing you to troubleshoot, recover, or use different operating systems without modifying the device’s internal storage. With careful preparation and the right steps, this process becomes straightforward and highly beneficial.
Frequently Asked Questions
Can I use any USB drive to boot my Nextbook 9-inch tablet?
While any USB drive can be used, it should be at least 8GB for better performance and compatibility.
What should I do if my Nextbook doesn’t recognize the USB drive?
Ensure the USB drive is properly formatted and created as bootable using trusted software. Check BIOS/UEFI settings to allow USB booting.
Is it safe to boot from USB?
Yes, it is safe, particularly when following proper procedures. Always back up your data to avoid losing important information.